 Last updated: August 19th, 2024
Identifying And Fixing Ceiling Leaks And Water Damage: A Comprehensive Guide
Ceiling leaks and water damage are common issues homeowners face, but they can lead to significant structural damage if not addressed promptly. This comprehensive guide will help you identify, fix, and prevent ceiling leaks and water damage, ensuring your home remains safe and sound.
Signs Of Ceiling Leaks And Water Damage
Detecting ceiling leaks and water damage early can save you from significant structural issues and costly repairs. Here are some common signs to look for:
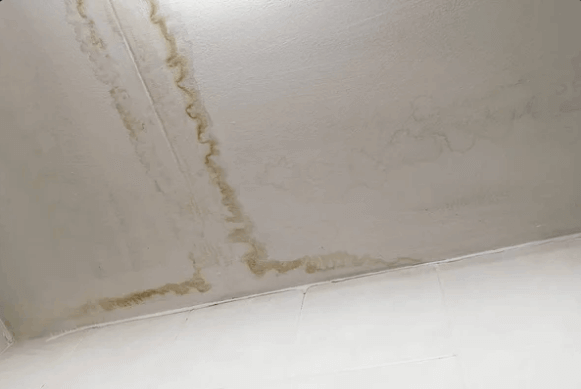
1. Water Stains
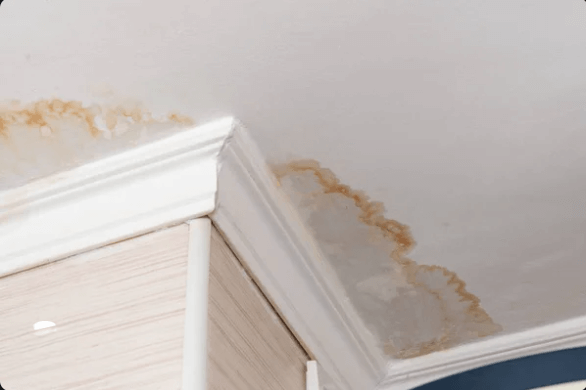
One of the most obvious indicators of a ceiling leak is the presence of water stains. These stains typically appear as brown or yellowish discolorations on the ceiling and can vary in size. If the leak continues, these stains may expand over time.
2. Peeling or Bubbling Paint
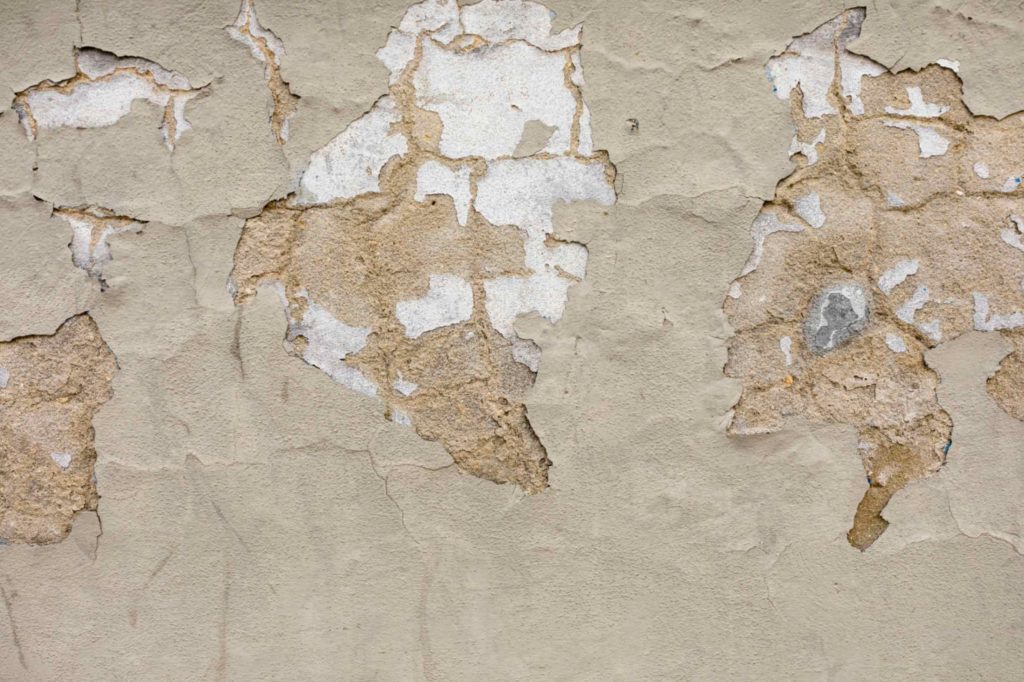
Moisture can cause paint to lose its adhesion to the surface, resulting in peeling or bubbling paint. If this happens, water seeps into your ceiling, indicating a potential leak.
3. Sagging Ceiling

A sagging or bulging ceiling suggests the ceiling material has absorbed significant water. If addressed promptly, this can strengthen the structure and avoid a risk of collapse.
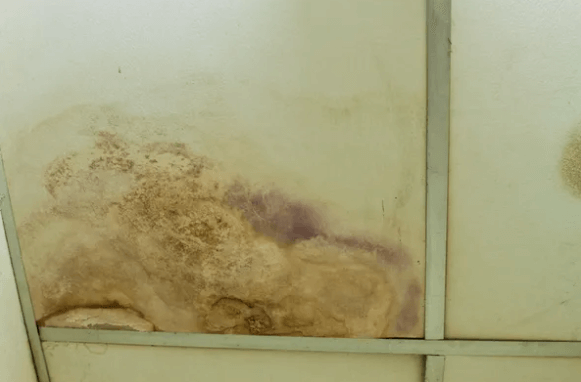
4. Mold Growth
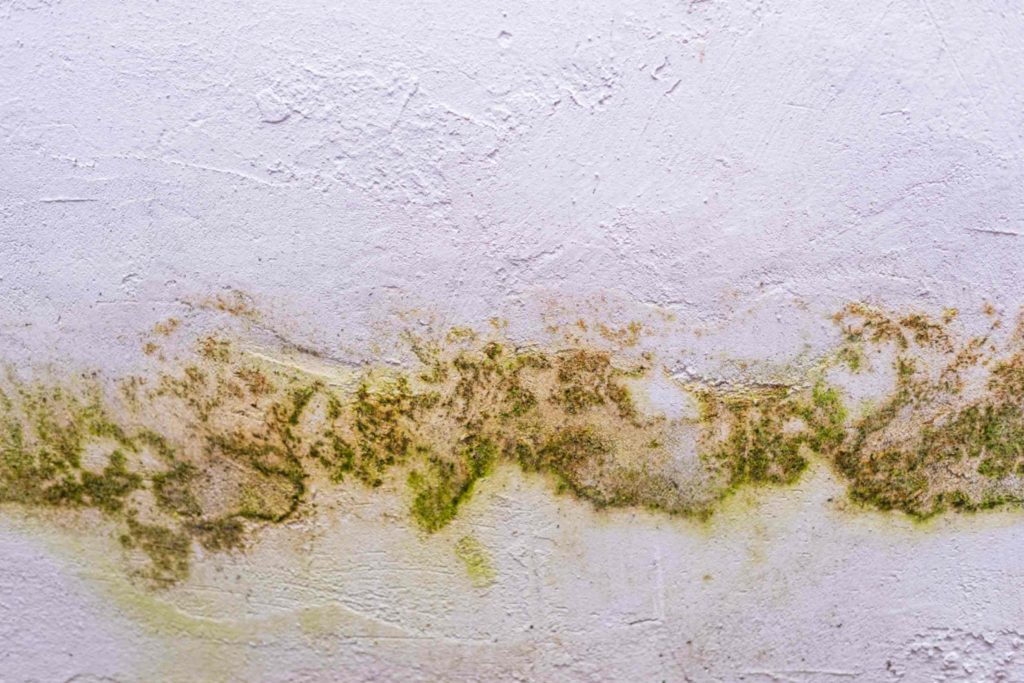
Mold thrives in damp environments and can appear as black, green, or white spots on your ceiling. It damages the structural integrity of your home and poses serious health risks, including respiratory issues and allergic reactions.
5. Musty Odor

A persistent musty smell in your home can indicate hidden water damage. This odor is typically caused by mold and mildew growth, which can occur behind walls, within ceilings, and in other areas that are not easily visible.
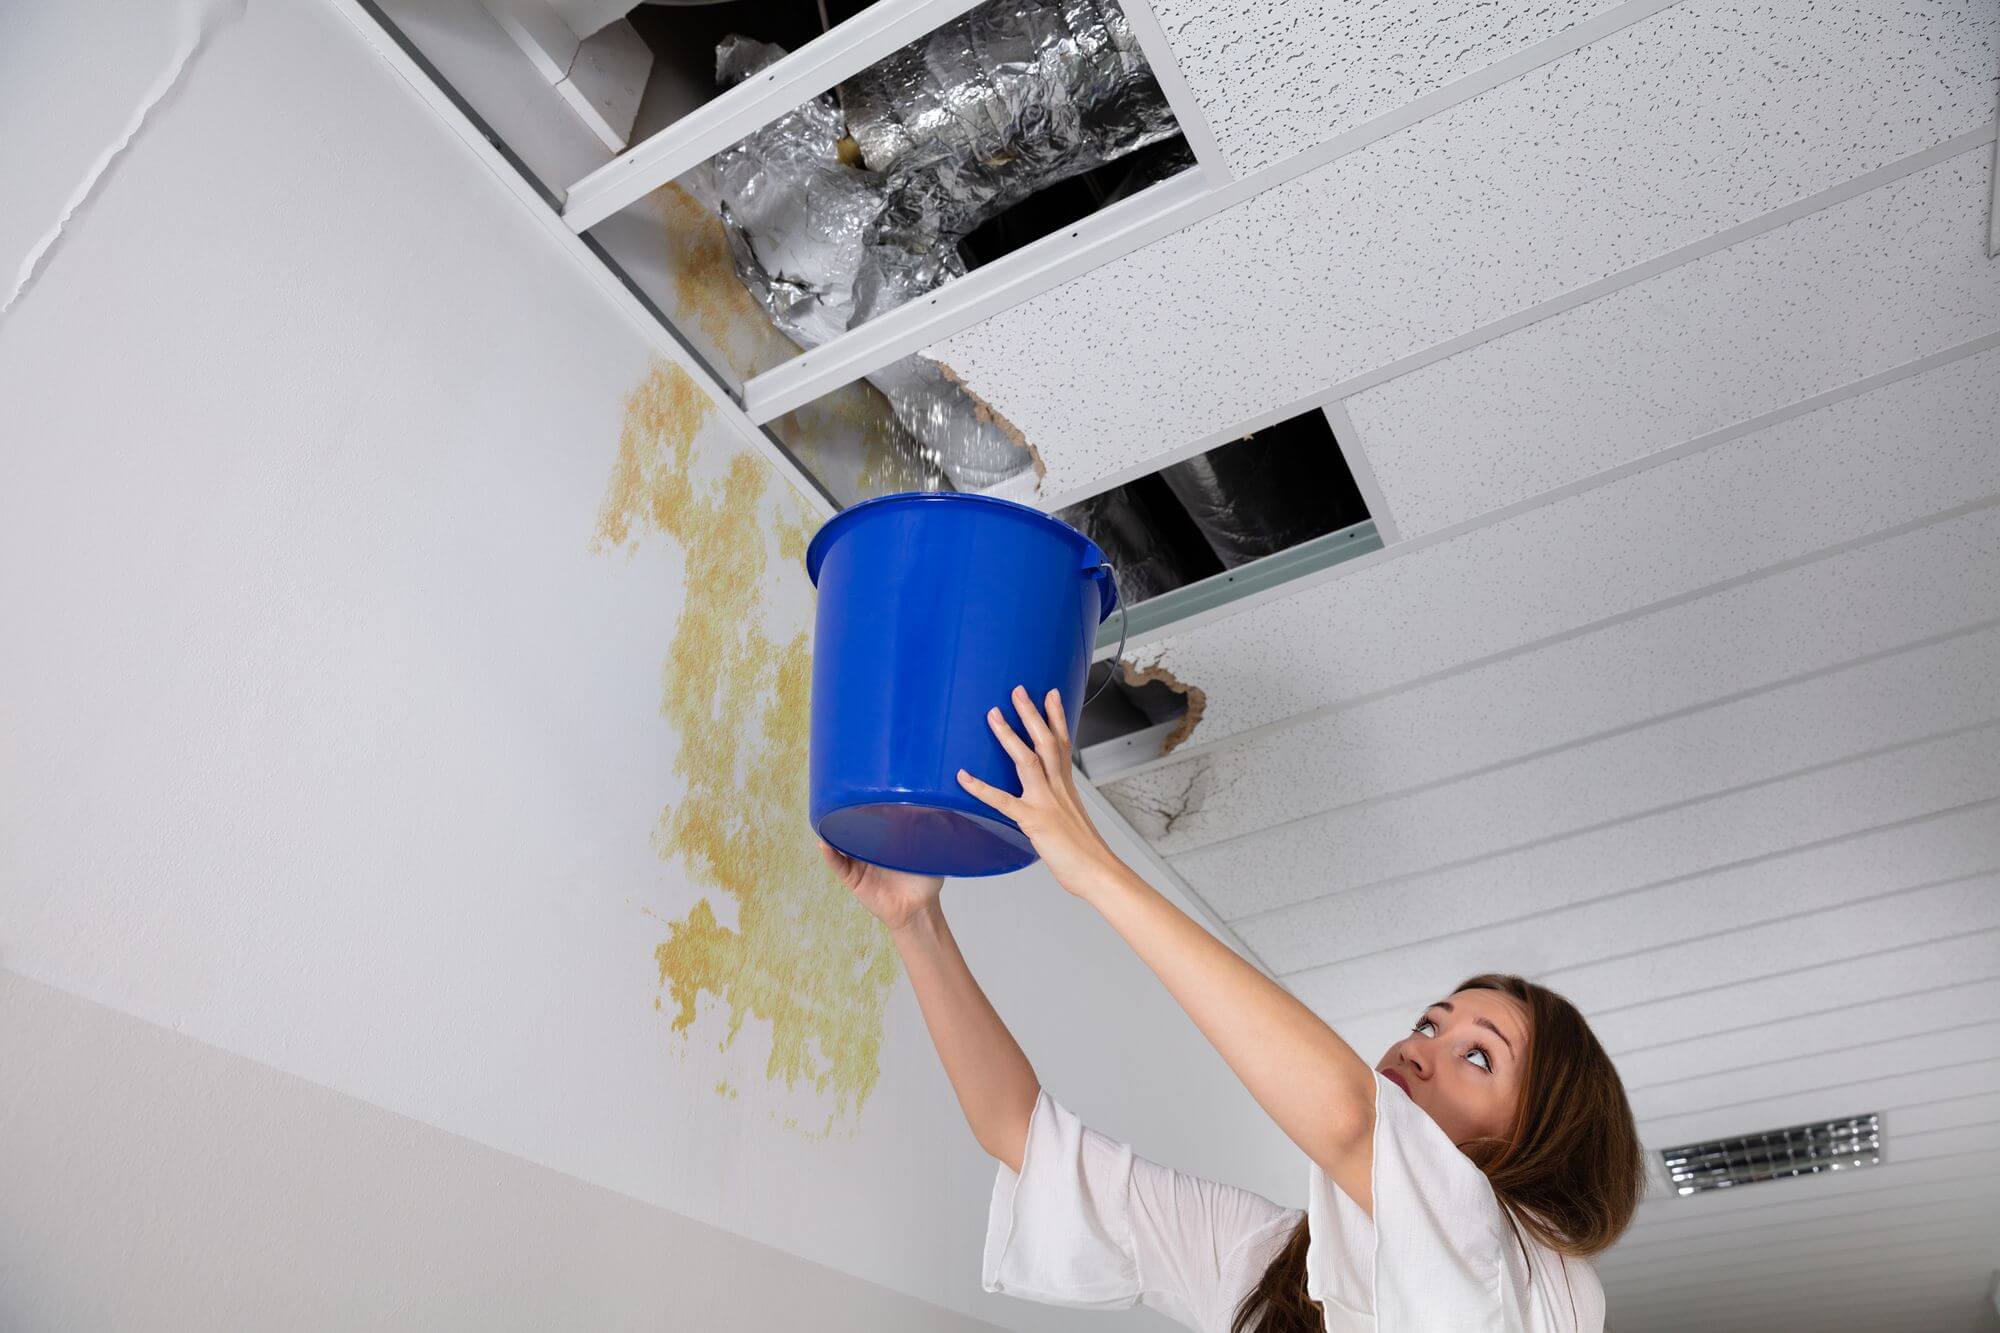
6. Dripping Water

In severe cases, you may notice water dripping from your ceiling. This is a clear sign of an active leak and requires immediate attention to prevent further damage.
7. Discoloration or Warping of Ceiling Material
Discoloration or warping of the ceiling material indicates that it has absorbed moisture. This can manifest as uneven surfaces, changes in texture, or visible deformities in the ceiling.
8. Cracks in the Ceiling
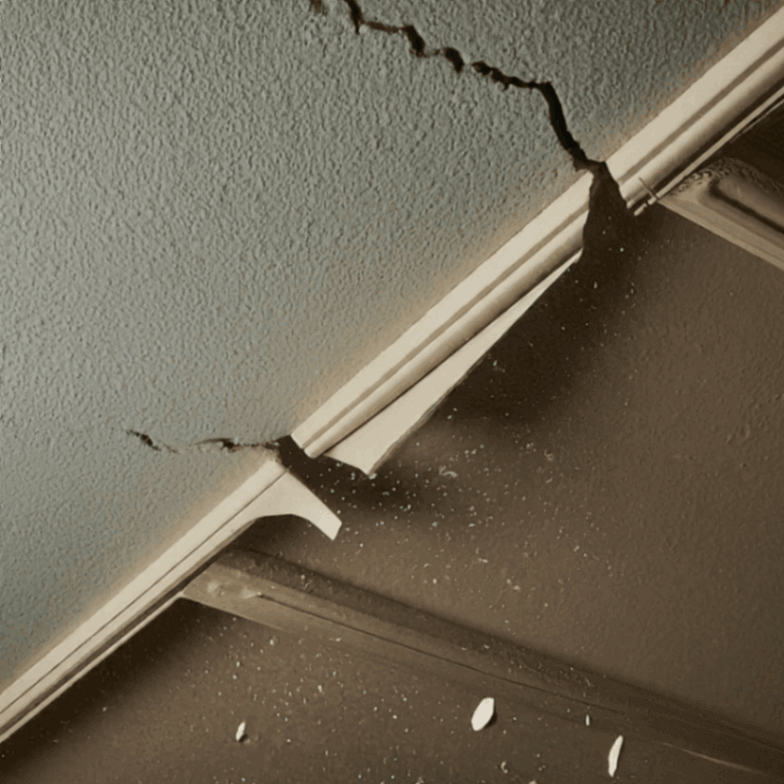
Cracks in the ceiling, especially those accompanied by discoloration or dampness, can be a sign of water damage. While not all cracks are caused by leaks, they warrant further investigation if other signs of water damage are present.
9. Water Rings on the Ceiling
Water rings and concentric circles of water stains often indicate intermittent leaks. These rings form when water pools and then dries, leaving behind a pattern of discoloration.
10. Dampness or Wet Spots
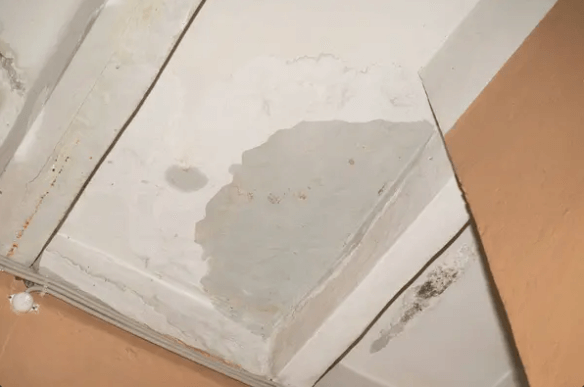
Damp spots on the ceiling or walls directly indicate a leak. These areas may feel soft or spongy to the touch and suggest ongoing water intrusion.
11. Increased Humidity
A sudden increase in humidity levels in a specific area of your home can also signal a leak. This can lead to condensation on windows and walls, further exacerbating the potential for water damage.
Regularly inspecting your ceiling and other parts of your home for these signs can detect leaks and water damage early. Early intervention is crucial to prevent extensive damage, maintain your home’s structural integrity, and avoid costly repairs.
Common Causes Of Ceiling Leaks
Ceiling leaks can be caused by various issues, from external environmental factors to internal home system malfunctions. Understanding these common causes can help you prevent and address ceiling leaks effectively.
- Leaky pipes are one of the most common causes of ceiling leaks, often resulting from wear and tear, corrosion, or improper installation.
- In freezing climates, burst pipes can lead to significant water damage and ceiling leaks.
- Missing or damaged shingles on the roof can allow water to seep through and reach the ceiling, especially during storms or high winds.
- Cracked flashing, typically found around chimneys, vents, and skylights, can also contribute to roof leaks and subsequent ceiling damage.
- Clogged gutters prevent proper drainage, leading to water overflow and eventual penetration into the ceiling.
- Roof vents that are poorly sealed or damaged can allow water to enter the attic space, resulting in ceiling leaks.
- HVAC systems, mainly attic air conditioning units, can cause condensation if drainage systems are blocked or faulty.
- Faulty components within the HVAC system, such as rusted or cracked drip pans, can cause water to leak onto the ceiling.
- Weather conditions such as heavy rain, snow, and hail can overwhelm roofing systems, leading to leaks and subsequent ceiling damage.
- Structural issues such as poor roof design or an aging roof with multiple weak points can also contribute to ceiling leaks.
Step-By-Step Guide To Fixing Ceiling Leaks
Repairing water damage on ceilings involves several steps to ensure the area is restored correctly and prevent future damage. Here’s a step-by-step guide to help you address ceiling leaks effectively:
- Identify the Source: Locate the source of the leak by examining the area on the ceiling where water is visible. Check for any signs of water damage or discoloration.
- Contain the Leak: Place a bucket or container beneath the leak to catch dripping water and prevent further damage to the surrounding area.
- Inspect the Roof: If the leak comes from above, inspect the roof for any damaged or missing shingles, cracks, or gaps. Address any issues found to prevent future leaks.
- Check Attic or Ceiling Space: If possible, access the attic or ceiling above the leak to inspect for water damage, mold, or signs of plumbing leaks.
- Repair Damaged Roofing: If the leak is due to roof damage, repair or replace damaged shingles, seal cracks or gaps with roofing cement, and ensure flashing around chimneys, vents, and skylights is intact.
- Fix Plumbing Issues: If the leak is caused by plumbing problems, such as a burst pipe or leaking fixture, shut off the water supply to the affected area and repair or replace the damaged component.
- Patch Ceiling Damage: Once the source of the leak has been addressed, repair any water damage to the ceiling. This may involve patching holes, replacing damaged drywall or ceiling tiles, and applying a fresh coat of paint.
- Dry Out the Area: Use fans or dehumidifiers to thoroughly dry the affected area to prevent mold growth and further damage.
- Monitor for Recurrence: Monitor the repaired area to ensure the leak does not return. Check periodically for signs of water damage or new leaks.
- Consider Professional Help: If you need help fixing the leak or if it persists despite your efforts, consider hiring a professional roofer or plumber to assess and repair the issue.
Preventative Measures To Avoid Future Leaks
Preventing ceiling leaks is crucial for maintaining the integrity of your home and avoiding costly repairs.
Implementing the following preventative measures can help you avoid future leaks:
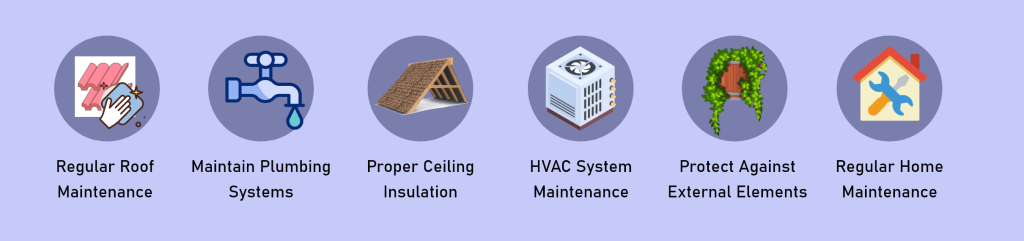
– Regular Roof Maintenance
- Inspect Your Roof: Conduct regular roof inspections, especially after severe weather, to identify and repair damaged or missing shingles, cracked flashing, and other signs of wear and tear.
- Clean Gutters and Downspouts: Keep gutters and downspouts clean and free of debris to ensure proper water drainage and prevent water from backing up and seeping into your roof.
- Repair Roof Leaks Promptly: Address any signs of roof leaks immediately to prevent water from penetrating the ceiling and causing further damage.
– Maintain Plumbing Systems
- Inspect Pipes and Fittings: Regularly check your home’s plumbing for leaks, corrosion, and wear, focusing on areas where pipes connect.
- Monitor Water Pressure: Ensure your home’s water pressure is safe to prevent pipes from bursting.
- Upgrade Old Plumbing: Replace old plumbing fixtures and pipes with more durable and leak-resistant materials.
– Proper Ceiling Insulation
- Insulate Your Attic: Proper insulation helps regulate temperature and reduces the risk of ice dams forming on your roof, which can lead to leaks.
- Seal Attic Air Leaks: Check for and seal any gaps or cracks in your attic to prevent warm air from escaping and causing condensation.
– HVAC System Maintenance
- Regular HVAC Inspections: Schedule annual inspections of your HVAC system to ensure it’s in good working condition and to check for leaks in ductwork and around the unit.
- Clean Condensate Lines: Ensure the condensate drain lines of your air conditioning unit are clear and unobstructed to prevent water buildup and leaks.
– Protect Against External Elements
- Trim Overhanging Trees: Regularly trim tree branches that hang over your roof to prevent damage from falling limbs during storms.
- Install Waterproof Barriers: Consider installing waterproof barriers under your roof, covering and around potential leak areas like chimneys and skylights.
– Regular Home Maintenance
- Check Ceiling and Walls: Inspect your ceilings and walls for any signs of water damage, such as stains or discoloration. Address issues promptly to prevent further damage.
- Maintain Windows and Doors: Ensure windows and doors are correctly sealed to prevent water from entering your home. Replace worn-out caulking and weather stripping as needed.
- Use Exhaust Fans: In high-humidity areas like bathrooms and kitchens, use exhaust fans to reduce moisture levels and prevent condensation.
Implementing these preventative measures can significantly reduce the risk of future ceiling leaks and maintain the integrity of your home. Regular maintenance and proactive care are key to protecting your property from water damage.
Understanding Home Warranties And Coverage For Ceiling Leaks
A home warranty is a valuable tool for homeowners, protecting the high costs of repairing or replacing major home systems and appliances. When it comes to ceiling leaks, understanding what your home warranty covers and its limitations can help you manage unexpected repairs effectively.
Coverage for Ceiling Leaks
Home warranties typically cover repairing or replacing systems and appliances that fail due to wear and tear. While specific coverage can vary by provider and plan, here’s how a home warranty might cover ceiling leaks:
- Plumbing Systems: This coverage encompasses a range of plumbing issues, including burst or leaking pipes. If a plumbing problem causes a ceiling leak, the home warranty would typically cover the repair of the pipes and any resultant damage to the ceiling.
- Roof Leaks: Some home warranty plans offer optional coverage for roof leaks caused by normal wear and tear. This coverage may include repairs to the roof structure and addressing any interior damage, such as ceiling repairs.
Exclusions and Limitations
While home warranties cover many aspects of home repair, they often have specific exclusions and limitations regarding ceiling leaks:
- Pre-Existing Conditions: Ceiling leaks caused by existing issues before the warranty coverage began are typically not covered.
- Lack of Maintenance: Failure to properly maintain roof structures, plumbing systems, or HVAC units that contribute to ceiling leaks may result in denial of coverage.
- Cosmetic Damages: Cosmetic damage to ceilings, such as minor stains or discoloration, may not be covered under home warranty plans.
- Acts of Nature: Damage from severe weather events like hurricanes or hailstorms, which can lead to roof or plumbing failures and subsequent ceiling leaks, may not be covered.
Top Home Warranty Companies for Ceiling Leak Coverage

Premium
$29 - $89
Deductible
$100 & $125
Coverage Limit
$4K - $5K
Why We Picked It
Offers extensive coverage options, including HVAC systems, plumbing, and optional coverage for roof leaks.
$50 off + 1 Month Free

Premium
$46 - $55
Deductible
$75 - $125
Coverage Limit
Upto $3K/item
Why We Picked It
Offers optional coverage for roof leaks, addressing potential sources of ceiling leaks.
$150 off + Free roof coverage + 2 months free

Premium
$44 - $47
Deductible
$60 - $75
Coverage Limit
$3K/Item
Why We Picked It
Affordable plans for HVAC systems, plumbing repairs, and optional roof leak coverage.
By understanding the coverage provided by home warranties and choosing the right plan, you can protect yourself from unexpected repair costs and ensure prompt service for issues like ceiling leaks.
Conclusion
Ceiling leaks and water damage can be daunting, but you can address these issues effectively with the proper knowledge and tools. You can maintain a leak-free home by identifying signs early, understanding common causes, following repair steps, and implementing preventative measures. Additionally, consider a home warranty for added protection and peace of mind. Address leaks promptly to prevent further damage and ensure the longevity of your home's structure.


related articles
 Discover First American Home Warranty Locations and What You Need to Know About Their Cover.
 Reviews of Home Warranty Companies Show You How to Determine If Your Home Is Covered


- Free Instant Quotes
- Upto $200 Off
- Free Roof Coverage